[Crops 101] How to Sow and Harvest Sugarcane
Welcome to your next "Crops 101" lesson of the Farming Simulator Academy! Today, we’re focusing on sugarcane. We’ll show you how to plant, harvest and sell it. Let’s go!
What is special about sugarcane?
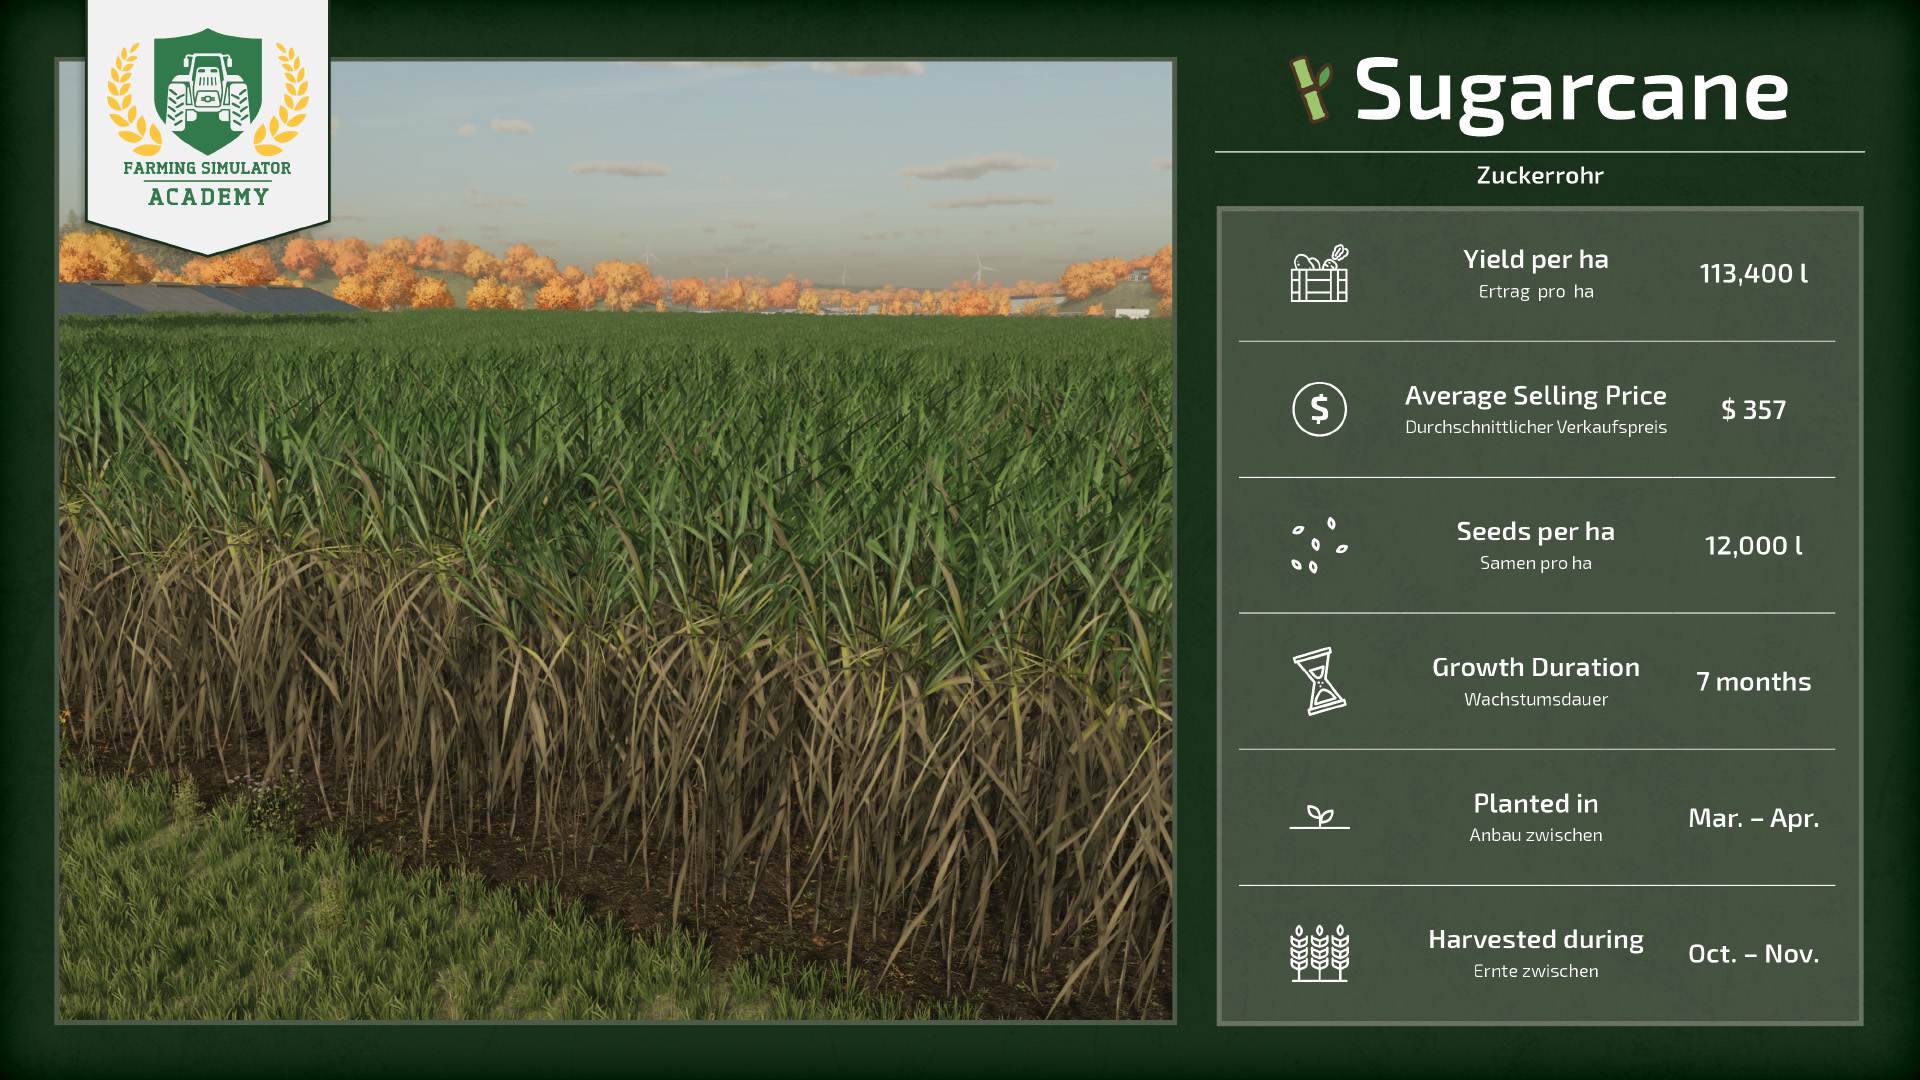
- Sugarcane grows back!
- High yield, but low selling-price
- You can fill your planter with harvested sugarcane
- No plowing or cultivating required (except periodic plowing)
- Narrow working width of harvesting machinery
- Can be sold or processed into sugar at the sugar mill
What you need for sugarcane
- This is a special case! For sugarcane, you don’t need to prepare the field. No initial plowing or cultivating necessary. Only after the third harvest, you need to plow to avoid a yield penalty. The field info box will tell you when it's time.
- You need a tractor + weight attachments. You require weights in addition to various tools, so the front wheels of your tractor don't lose traction because of the heavy machinery attached in the back. They counter the weight of tools. More info in the equipment section.
- You need a planter and a sugarcane pallet. In the "Sugarcane technology" category of the shop, you find suitable planters. The pallets are found in the “objects” tab of the shop.
- Tip! Sugarcane grows back. You don’t need to plant again after harvest, unless you plow. You can fill the planter with sugarcane from the previous harvest!
- You need a fertilizer spreader, fertilizer and lime. Without, the income from your harvested crops will be lower. For beginners, artificial fertilizers are the best choice. You find both lime and fertilizer in the bigbag section of the shop. A fertilizer spreader is found in the fertilizing technology category.
- Tip! If your field requires lime, it will be shown in the right corner box if you’re standing on the field and on the map in the menu.
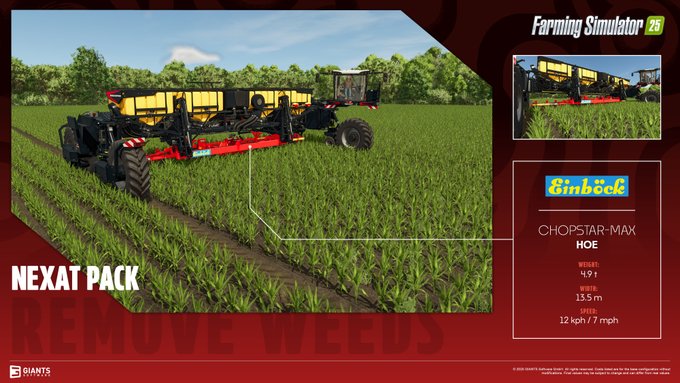
- You need a weeder to get rid of the weeds that will soon pop up. Otherwise, the income from your crops will be reduced when you sell it.
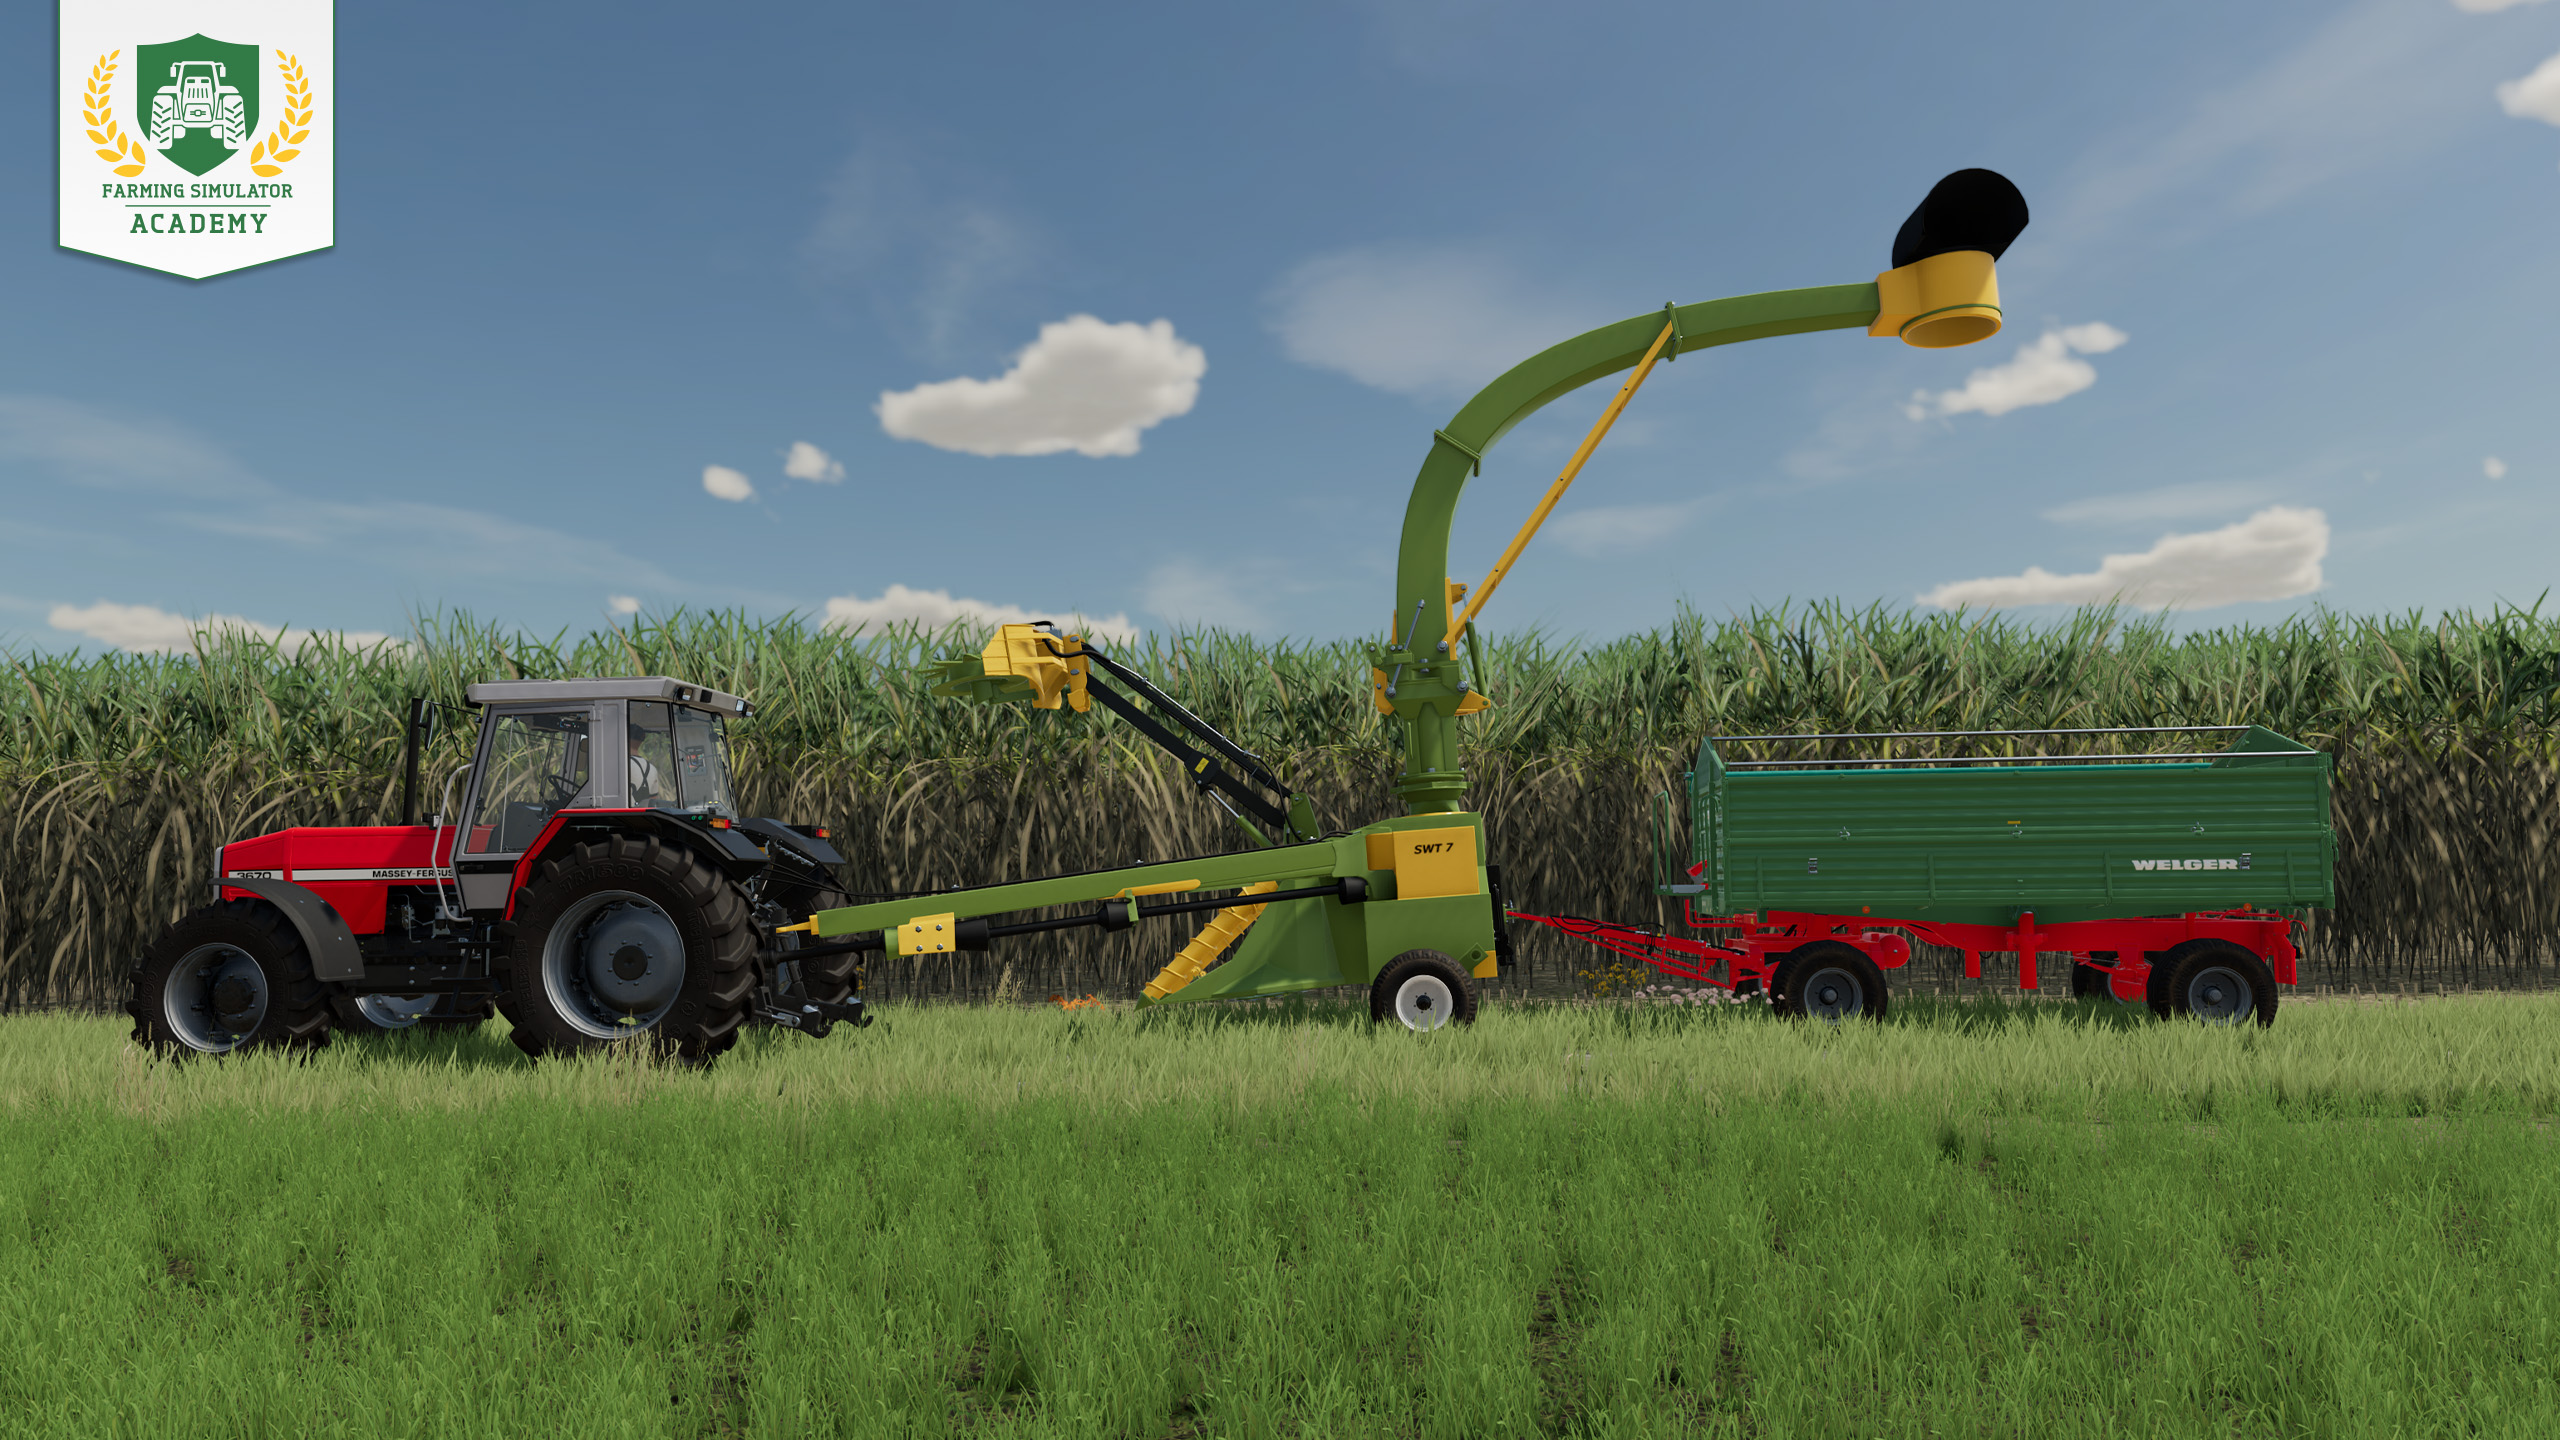
- You need a cane harvester. Two choices: Either a self-propelled harvester OR (and this is the cheaper option) a harvester to attach to your tractor.
- You also need a trailer to transport and sell the sugarcane. In the shop, you find specialized trailers in the “sugarcane technology” category of the tool tab to attach to the cane harvester. If you have two tractors, you can attach any normal trailer to the second tractor and let the helper drive the harvester.
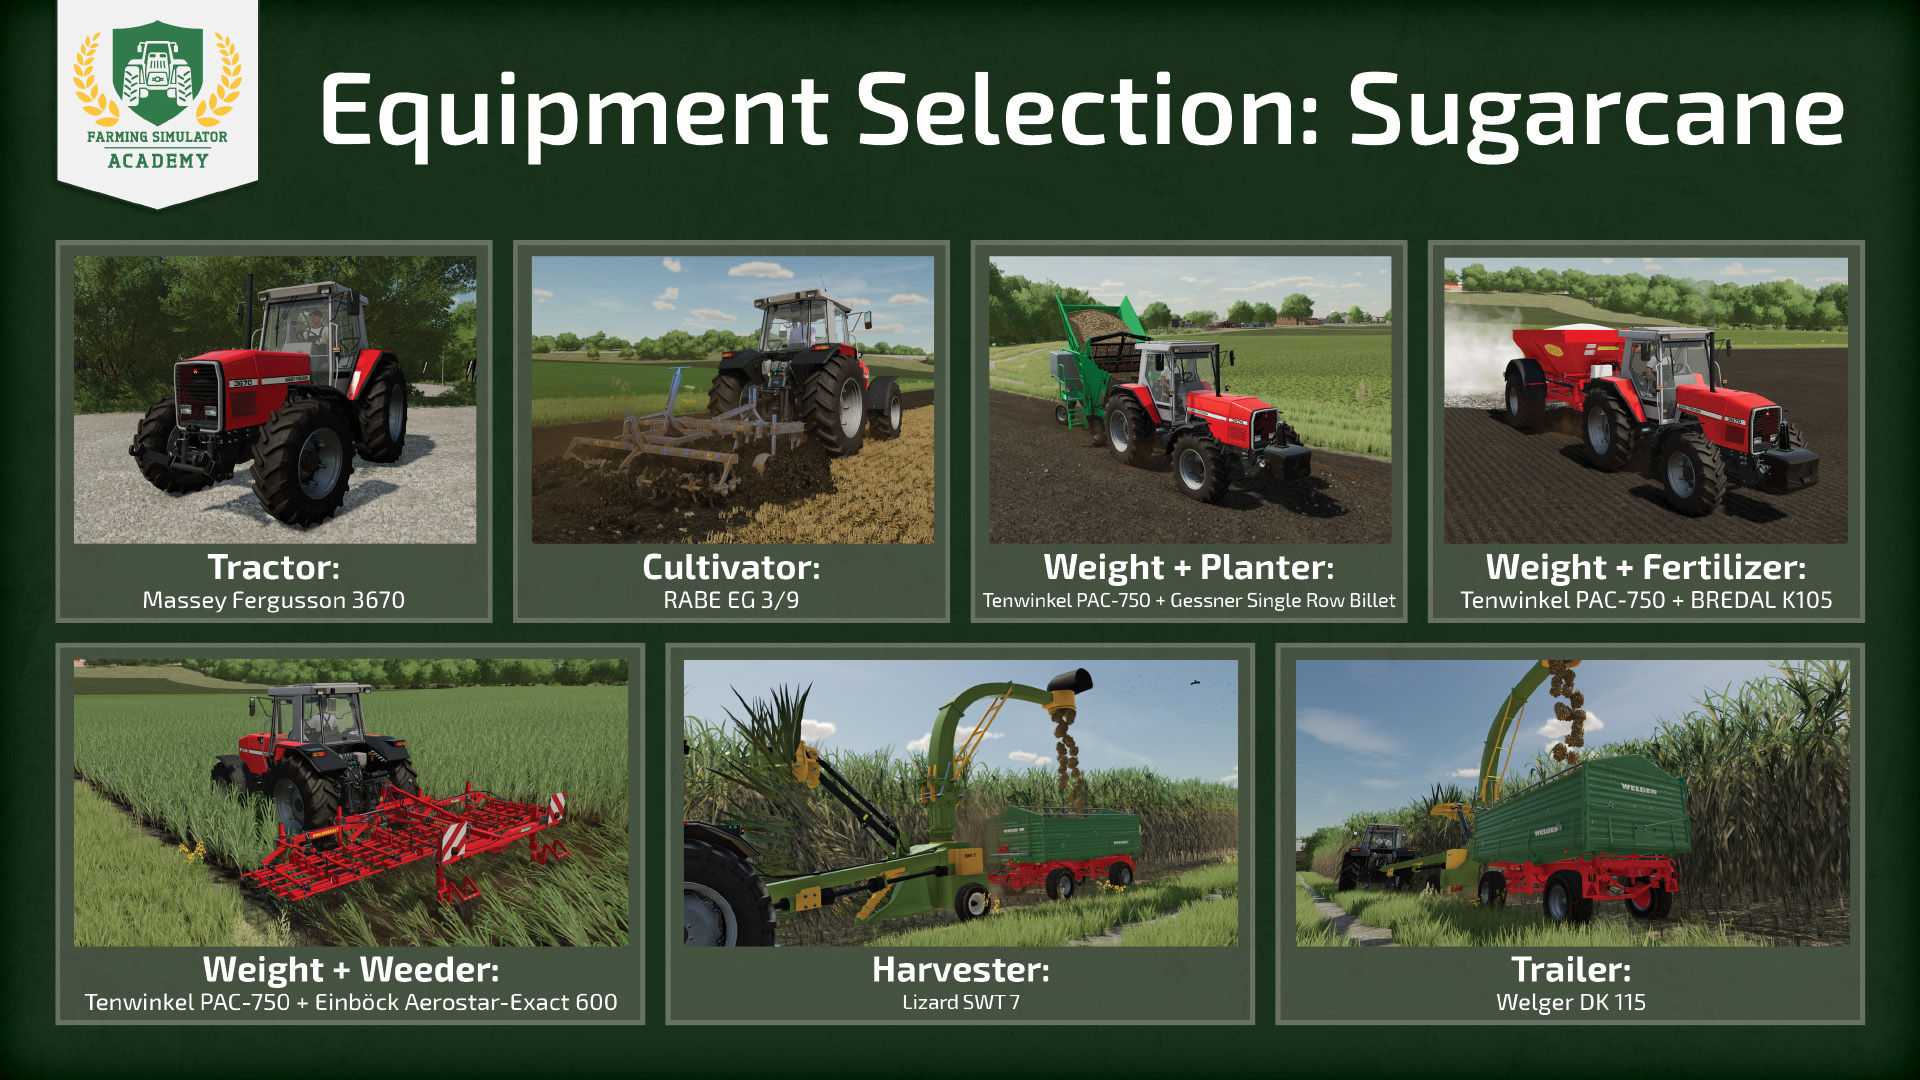
Equipment Selection (recommendation)
We chose the following equipment. For sugarcane, you need specialized equipment. Make sure you have the required amount of cash in your account balance. Otherwise, you should start with another crop! Like grains.
- Tractor: Massey Fergusson 3670
- Cultivator: RABE EG3/9
- Planter: Gessner Single Row Billet + Tenwinkel PAC-750*
- Harvester: Lizard SWT 7
- Weeder: Einböck Aerostar-Exact 600 + Tenwinkel PAC-750*
- Fertilizer: BREDAL K105 + Tenwinkel PAC-750*
- Trailer: WELGER DK 115
* Weight attachments recommended: Click on "combinations" on the shop page of a tool to display corresponding weights to attach to your tractor. You may use one weight module for multiple tools (see our recommendation) - small weight discrepancies are not critical.
Let’s go to work!
Got everything you need? Then let’s start on your assignment and plant some crops. Note, that you can only plant sugarcane between the beginning of March and the end of April if seasonal growth is enabled.
Step 1: Planting sugarcane
Get the planter attached to your tractor and fill it with seeds by positioning it next to a pallet of sugarcane. Head over to the field. Position yourself at one corner of the field, lower the planter and turn it on. Now, plant away!
Tip! Do yourself a favor and don’t speed up the time while planting, or the crops will grow unevenly.
Optional: After you're done with planting, you can also use a soil roller to condense the soil and increase the yield by additional 2,5%. You don't have to, though. If small stones are left on the field, they get pushed back into the soil, so they don't damage your harvester, later.
Step 2: Apply fertilizer and lime
Fertilizer will improve the yield. Click on the "vehicle" category and buy the Solid Fertilizer from the "consumables" sub category. Then, hook up your spreader to your tractor, position it right next to the BigBag and click the button to refill.
Back on the field, you turn it on and cover the whole field in fertilizer. It should now be fertilized to 50%, look at the right corner box while standing on the field. It’s okay if there are some tiny spots still not covered.
Does the field tell you it also needs lime? Then head back to the shop, buy lime and repeat the same procedure. If you have fertilizer left, you can unload it first at your farm.
Tip! Repeat the process after planting to increase the fertilization to 100%. The yield will be even higher.
Step 3: Getting rid of weeds
Soon, the first weeds spawn on the field. Take your weeder to get rid of it before the crops grow past the first stage. In the first stage, you can still use the weeder to remove weeds. After that, you’d need a field sprayer, but let’s try to avoid that in favor of our finances. If you play with crop destruction, use a tractor with narrow tires, otherwise a lot of plants get destroyed. Got rid of it? Good, now we wait again, until the crops are fully grown.
Step 4: Harvest the sugarcane
With seasonal growth enabled, sugarcane has to be harvested between October and November. Now, we take our machines and go to the field of fully grown sugarcane. This is what you need to do when you use the recommended machines:
- Attach the harvester to the tractor
- Attach the trailer to the harvester
- Open the cover of the trailer
- Unfold the harvester
- Move out the pipe of the harvester
- Turn on the harvester
- Start harvesting the field
When you harvest the sugarcane now, it will automatically fill the trailer via the pipe that's positioned directly over the trailer. When it's full, you need to store or sell it. If you want to sell it later, you have to unload it on the ground or leave it in trailers for the time being.
Step 5: Selling the sugarcane
Look for the best-selling point on the prices screen and unload the trailer in the designated area. You might want to look at the price fluctuations, too. You might make more money, if you sell it later. Sugarcane can’t be stored in a silo, though.
Well done!
Congratulations, you harvested and sold sugarcane. Take your time and start on the next lesson, when you’re ready. And don’t forget to clean up your machines once in a while. Stay with the Farming Simulator Academy and you become a virtual farmer in no time!


